How To Enable Hyper-V Manager In Windows 8
Here is a short demonstration for how to enable Hyper-V Manager in Windows 8. Hyper-V is a hardware virtualization technique which allows to run one or more guest operating systems on the host. By default, this feature is disabled in Windows 8. In this article, I will show how you can enable Hyper-V manager and how to use Hyper-V manager to create virtual machines in Windows 8.
In previous versions of Windows, various third-party software’s were available to achieve hardware virtualization. Hyper-V was present in Windows server 2008. Using Hyper-V, you can create a new virtual machine in Windows 8 or import a previously created virtual machine. By default, both Hyper-V core and its Hyper-V manager are disabled in Windows 8. You can go through the following set of steps to enable both of them. Also, check out How to Enable Safe Mode in Windows 8 posted by us.
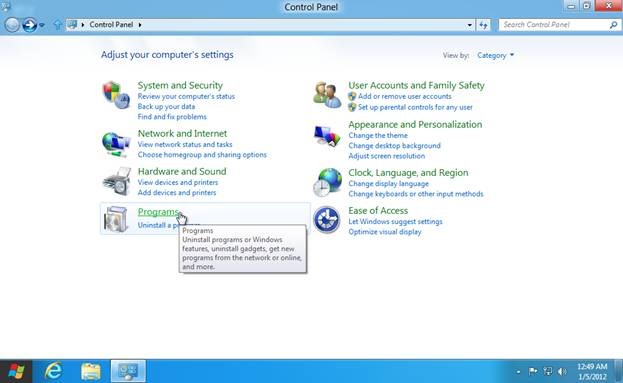
Open control panel and slide down to the bottom of the left sidebar and click “More Settings”. This will open the traditional desktop style control panel where you will see the category wise arrangement of all the control panel settings. Click “Programs”.
This will open the “Programs” category. Click “Turn Windows features on or off” link.
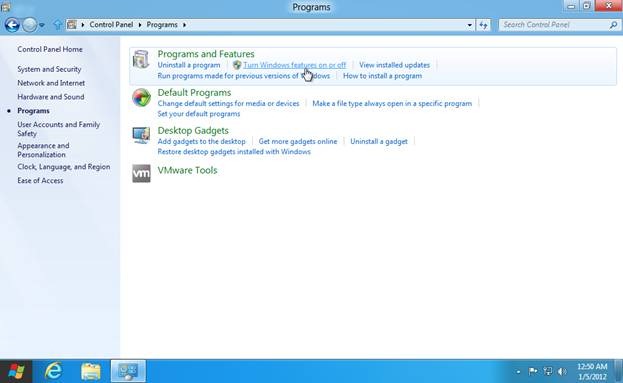
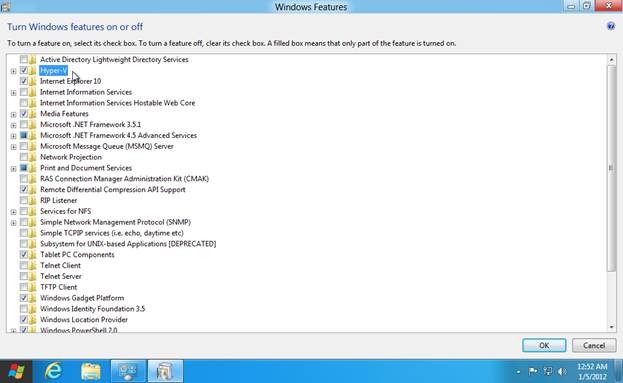
This will open the “Windows features” dialog box where you can turn a number of Windows features on or off. Check the “Hyper-V” checkbox to enable and click OK.
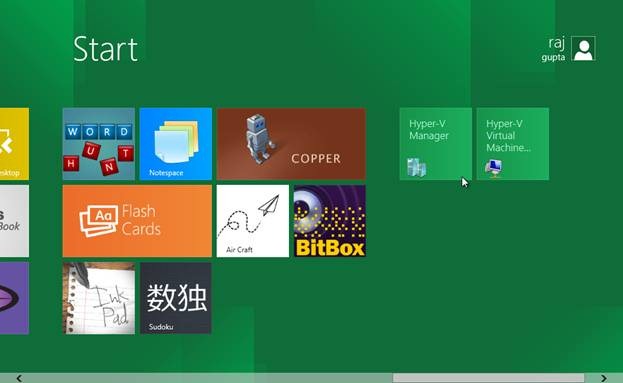
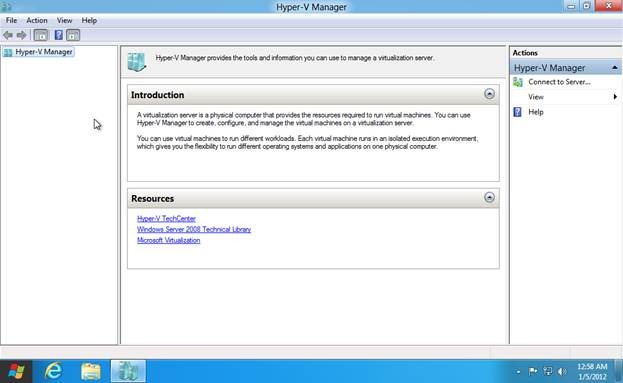
Restart your computer, now you can see two extra tiles on the start screen “Hyper-V Manager” and “Hyper-V Virtual Machine Connection”. Using “Hyper-V manager” you can import an old virtual machine or create a new one.